Budget-Friendly Bathroom Renovation Guide
Small bathrooms can often feel neglected, with plain walls and uninspired décor. But what if you could completely transform your space with a Budget-Friendly Bathroom Renovation?
In this comprehensive guide, we’ll walk you through an exciting DIY project that turned a dull, bland bathroom into a stylish sanctuary all for under £50. Whether you’re looking to refresh your space or need inspiration for a Budget-Friendly Bathroom Renovation, this article will guide you through every stage of the transformation.
How to Start Your Budget-Friendly Bathroom Renovation

Before jumping into any Budget-Friendly Bathroom Renovation project, it’s crucial to understand the space you’re working with. Small bathrooms often present unique challenges, such as limited space and lighting issues.
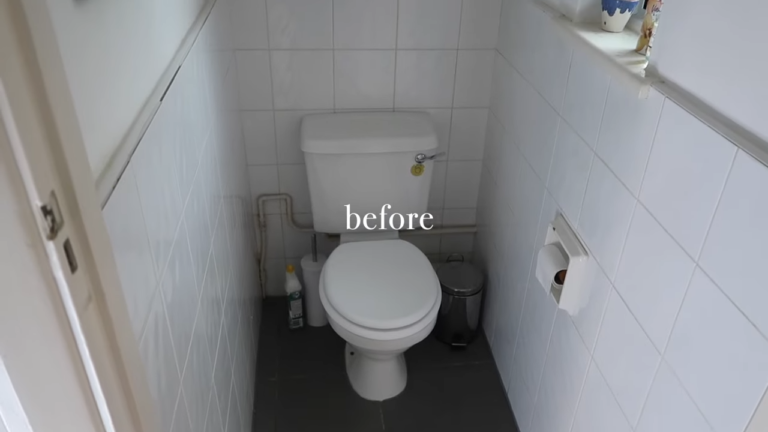
Begin by assessing your bathroom’s current state. What’s working? What feels outdated or neglected? For this project, the bathroom was clean and functional but lacked personality. The goal was to add style and warmth without overwhelming the small space.
One of the key aspects of this Budget-Friendly Bathroom Renovation was its affordability. Setting a budget is essential for any renovation project, especially when working with a limited amount of money.
The challenge here was to keep the entire makeover under £50. By carefully selecting materials and focusing on impactful changes, the budget was strictly adhered to.
Remember, a tight budget doesn’t mean you can’t achieve a high-end look. It’s all about making smart choices.
- Paint: The choice was a bold black for the upper half of the walls, contrasting with the existing white.
- Peel and Stick Vinyl Floor Tiles: These tiles offer a cost-effective way to completely change the look of the floor without the need for professional installation.
- Grout Pen: Used to refresh the existing grout, making it look brand new.
- Decorative Items: Simple touches like a new plant, a vase, and a unique pull-cord added the finishing touches
All these items were sourced from affordable retailers, sticking to the £50 budget.
The bathroom needed to be prepped by removing existing décor, cleaning the surfaces, and filling in any holes or imperfections on the walls.
This step is crucial to ensure that the new paint and tiles adhere properly and that the finished product looks professional.
Painting the Walls for a Budget-Friendly Bathroom Renovation
The first major step in the Budget-Friendly Bathroom Renovation was painting the walls. The choice to paint the upper half of the walls black was bold, especially for a small space.
However, the contrast with the white lower half created a striking visual impact. The paint used was a budget-friendly option that offered excellent coverage and a smooth finish. When painting, it’s important to use painter’s tape to ensure clean lines and protect areas that aren’t being painted.
Floor with Peel and Stick Tiles
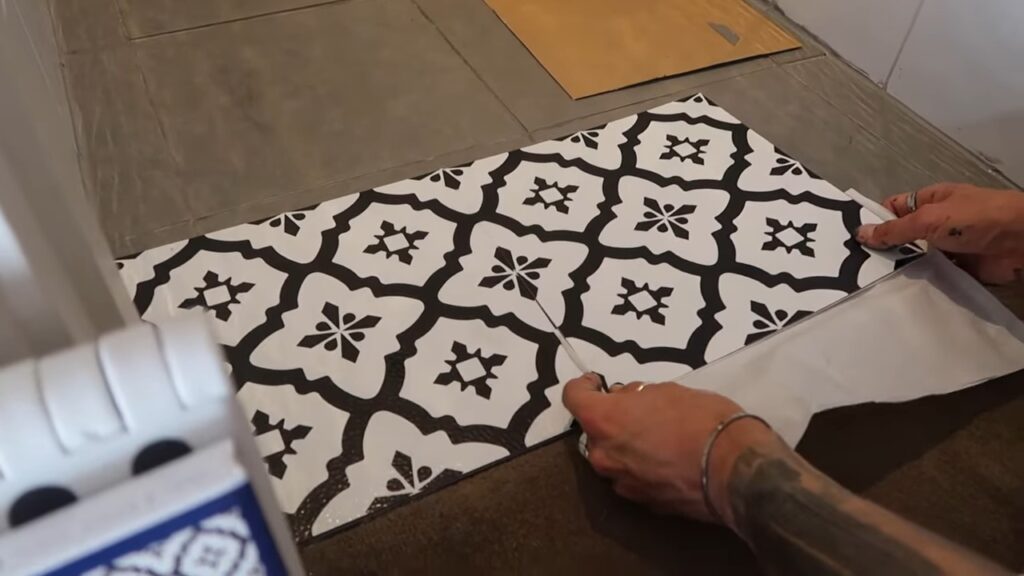
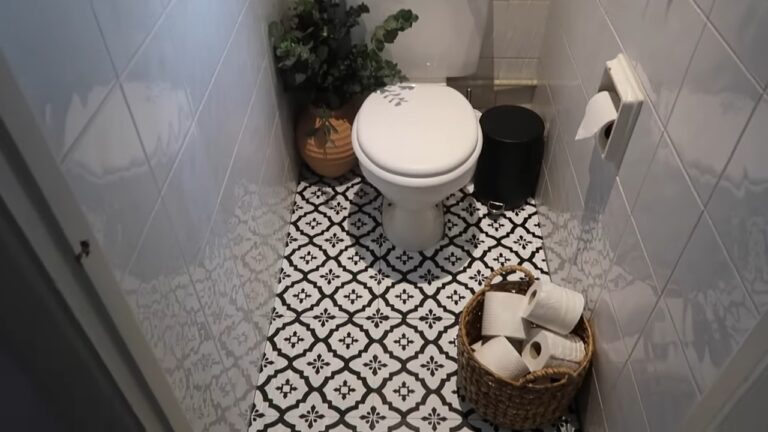
One of the most transformative aspects of this Budget-Friendly Bathroom Renovation was updating the floor with peel-and-stick vinyl tiles. These tiles are an excellent option for those on a budget, as they are easy to install and don’t require professional help.
The tiles used in this project were in a stylish pattern that complemented the black and white walls. The installation process involved carefully measuring and cutting the tiles to fit around fixtures, ensuring a seamless look.
Over time, grout can become discolored, making the space look dingy. A grout pen is a simple and inexpensive tool that can make your grout look brand new.
In this Budget-Friendly Bathroom Renovation, the grout was refreshed with a white pen, brightening the tiles and enhancing the overall look of the bathroom. This step is easy to overlook, but it makes a significant difference in the final appearance.
Adding Decorative Touches

No Budget-Friendly Bathroom Renovation is complete without adding some personal touches. In this bathroom, the décor was kept simple yet impactful.
A new vase with greenery added a touch of nature and warmth, while a unique monkey pull-cord for the light switch added a playful element. These small additions made the space feel complete and cohesive without going over budget.
Finishing the Edges
After the main transformations were complete, it was time to focus on the details. The edges where the walls met the ceiling and floor were carefully finished to ensure a clean, professional look.
This step involved touching up any areas where the paint may have bled and making sure all lines were crisp.
To ensure that the peel-and-stick tiles adhered properly, heavy objects were placed on top of them overnight. This step is crucial as it helps the tiles bond securely to the floor, preventing any peeling or shifting over time.
It’s a simple but effective way to ensure that your new floor lasts.
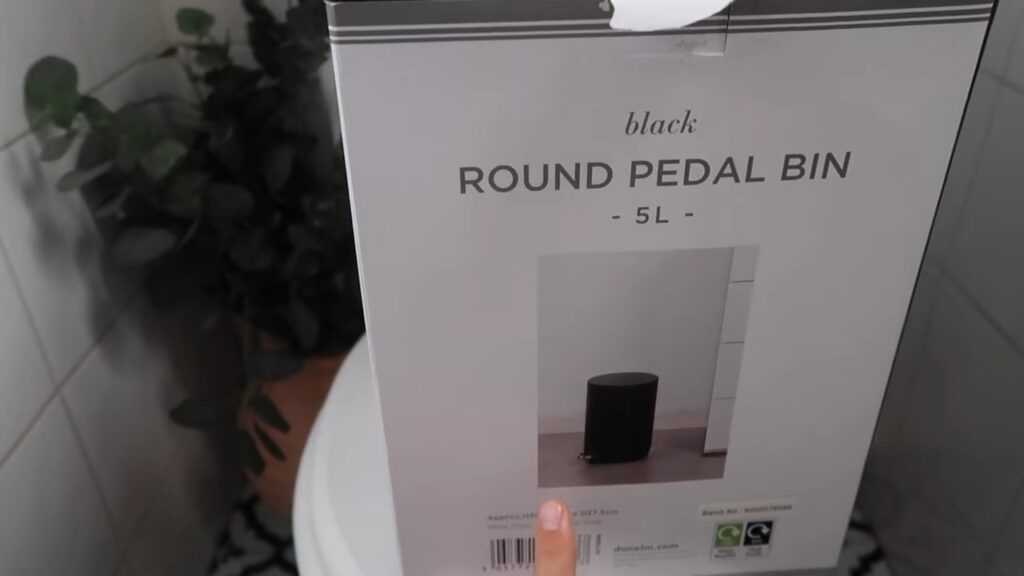
With the walls painted, the floor updated, and the grout refreshed, the final step was installing new fixtures. A stylish black pedal bin replaced the old one, tying in with the color scheme.
The monkey pull-cord was installed, adding a unique touch to the space. These final fixtures completed the transformation, making the bathroom not only more stylish but also more functional.
The Big Reveal for Budget-Friendly Bathroom Renovation
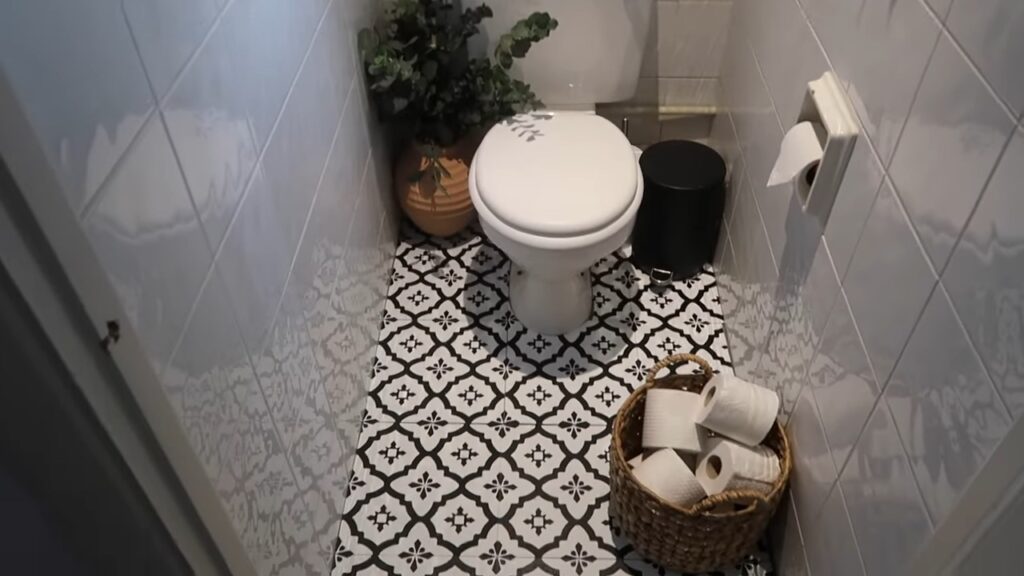
The transformation was complete, and the final reveal was nothing short of stunning. The bathroom, once bland and uninspired, was now a stylish, modern space that felt both cozy and luxurious.
The black and white color scheme, complemented by the greenery and unique decorative touches, created a space that was both functional and beautiful.
All of this was achieved on a strict £50 budget, proving that you don’t need to spend a lot of money to create a space you love.
This Budget-Friendly Bathroom Renovation is a testament to what can be achieved with a little creativity, some elbow grease, and a modest budget.
By following the steps outlined in this guide, you can transform your own small space into something special. Whether you’re working with a bathroom, a kitchen, or any other small room, the principles are the same: plan carefully, choose your materials wisely, and don’t be afraid to make bold choices.

